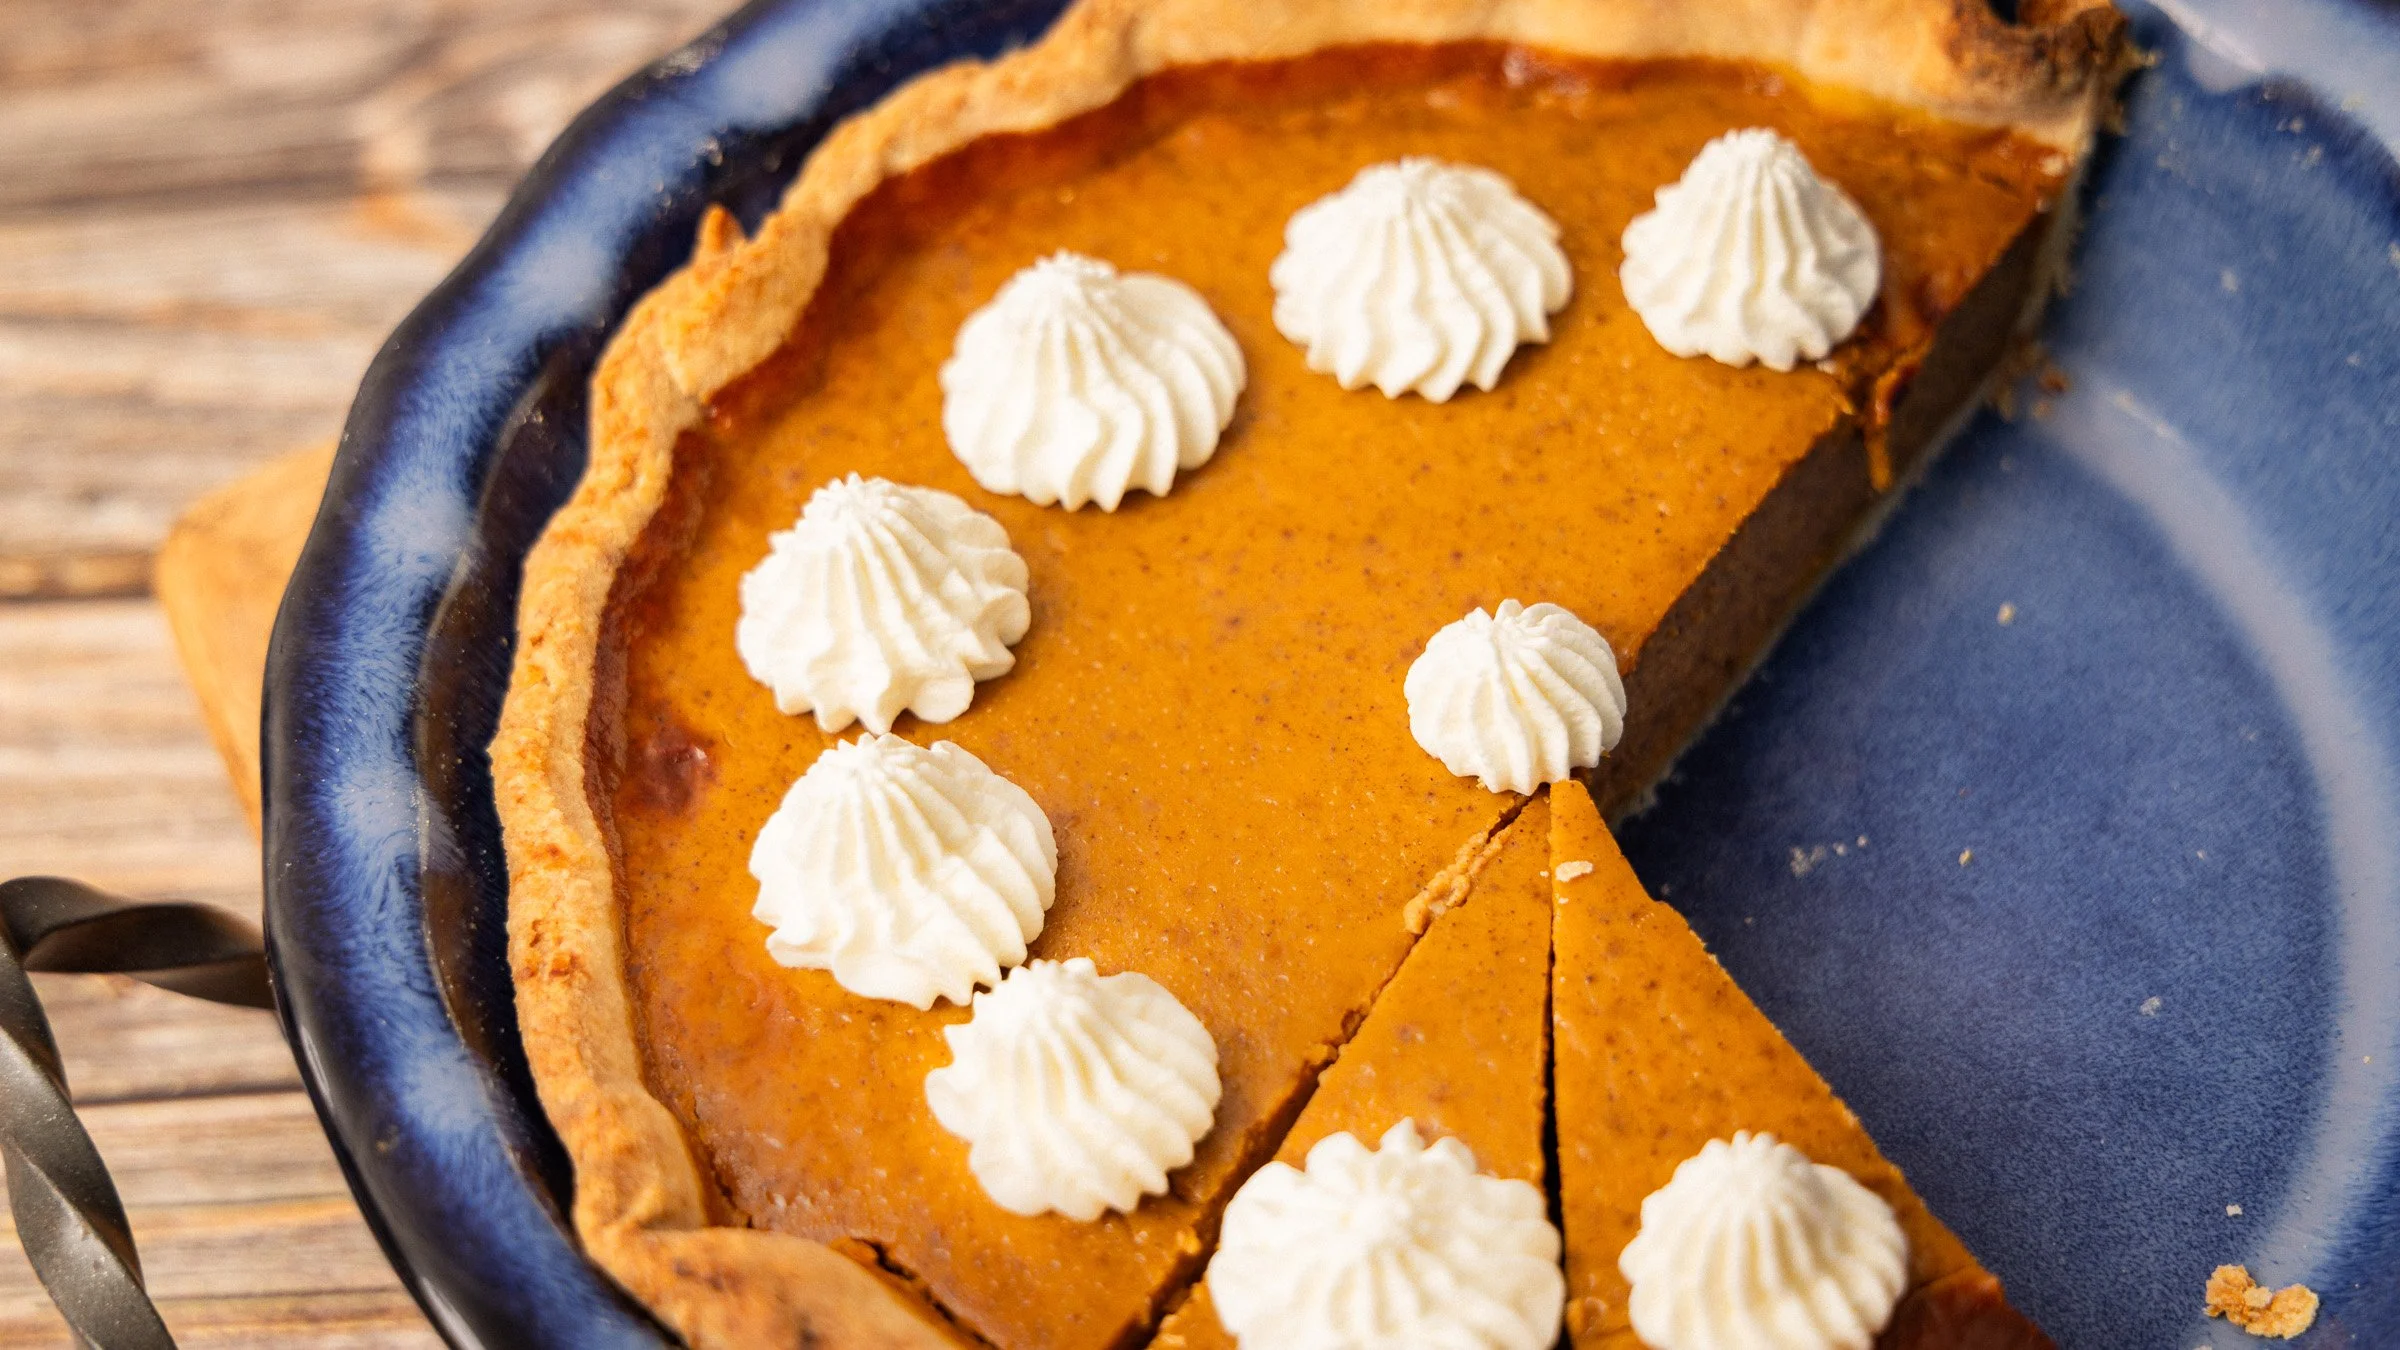
Classic Pumpkin Pie with a Flaky Crust
(Smooth filling, no cracks, and a crust that actually holds up)
There’s a reason pumpkin pie shows up on so many Thanksgiving tables. When it’s done right, it’s simple, comforting, and quietly impressive. The filling should be smooth and creamy without being heavy, the spices should taste warm instead of muddy, and the crust should stay flaky instead of turning soggy.
This version is built for reliability. It uses a straightforward all-butter crust (or a good store-bought one if you’re short on time) and a filling that sets cleanly. The method is clear, the timing is forgiving, and the pie actually improves after a night in the fridge. That last part matters more than most people admit.
Yield: 1 standard 23 cm (9-inch) pie
Prep time: about 30 minutes active
Cook time: 50–65 minutes
Total time: 5½–6½ hours including chilling and cooling
Why This Recipe Works
Most pumpkin pie problems come from three places: too much moisture in the puree, overmixing the filling, or baking until the center is completely firm. This recipe addresses all three.
The combination of evaporated milk and a little heavy cream gives the filling body without making it dense. Using both whole eggs and an extra yolk helps it set with a smooth, custard-like texture. Baking starts hot to set the edges, then drops in temperature so the center cooks gently. The result is a pie that looks and tastes bakery-level without requiring advanced technique.
Ingredients
Pie Crust
190 g all-purpose flour
½ tsp fine salt
1 tsp granulated sugar
115 g cold unsalted butter, cubed
45–60 g ice water
Or use one 9-inch unbaked store-bought pie crust.
Pumpkin Filling
425 g pumpkin puree (one 15 oz / 425 g can — plain, not pumpkin pie filling)
150 g brown sugar
large eggs
1 large egg yolk
40 g evaporated milk
60 g heavy cream
1 tsp vanilla extract
tsp ground cinnamon
1 tsp ground ginger
½ tsp ground nutmeg
¼ tsp ground cloves
½ tsp fine salt
Method
1. Make the crust
In a medium bowl, mix the flour, salt, and sugar. Cut in the cold butter with a pastry cutter or your fingertips until the mixture looks like coarse crumbs with some pea-sized pieces of butter still visible. Those larger pieces are what create flakiness.
Add the ice water a tablespoon at a time, mixing gently just until the dough starts to hold together when you press it. You may not need the full amount. Shape the dough into a disk, wrap it tightly, and refrigerate for at least 1 hour. This rest is important — it lets the flour hydrate and the butter firm back up.
2. Shape the crust
On a lightly floured surface, roll the dough into a circle large enough to fit your 23 cm pie plate with a little overhang. Transfer it carefully, press it into the corners without stretching, then trim and crimp the edges. Chill the shaped crust for 20–30 minutes while you make the filling. A cold crust going into a hot oven is one of the best defenses against shrinkage and sogginess.
3. Make the filling
In a large bowl, whisk the pumpkin puree and brown sugar until completely smooth. Add the eggs and egg yolk and whisk until fully combined.
Pour in the evaporated milk, heavy cream, vanilla, spices, and salt. Mix until the filling is uniform and silky. Do not whip aggressively — too much air can lead to a less stable set and increase the chance of cracks.
4. Bake
Preheat the oven to 220 °C conventional (200 °C fan).
Pour the filling into the chilled crust. Bake for 15 minutes at the higher temperature, then reduce the heat to 175 °C conventional (160 °C fan) and continue baking for another 35–50 minutes.
The pie is ready when the edges are set and the center still has a gentle, slow wobble — similar to gelatin rather than liquid. If you use an instant-read thermometer, look for 82–85 °C in the center. If the crust edges are browning too quickly, loosely tent them with foil.
5. Cool completely
Transfer the pie to a wire rack and let it cool for at least 3 hours. The filling continues to set as it cools, so resist the urge to cut into it early. For the cleanest slices, refrigerate the fully cooled pie and serve it chilled or slightly cool.
Key Tips for Success
Pumpkin puree moisture matters. Some brands are wetter than others. If the puree looks watery, blot it with paper towels or simmer it for a few minutes to drive off excess liquid before using it. Too much water is one of the main reasons pies crack or take forever to set.
Don’t overbake. Pulling the pie when the center still has a slight wobble is the single best way to avoid cracks and a dry, grainy texture. It will finish setting as it cools.
Spice quality shows. Freshly grated nutmeg makes a noticeable difference. The longer the pie sits, the more the spices bloom — this is one reason a day-ahead pie often tastes better.
Crust protection. If you’re worried about the edges getting too dark, keep a strip of foil ready and cover them midway through baking.
Make-Ahead Timeline
This pie is ideal for making ahead.
Bake it the day before you plan to serve.
Cool completely, then cover and refrigerate.
The texture improves and the spice flavor deepens overnight.
Fully baked and cooled pie keeps in the refrigerator for 3–4 days. It can also be frozen (well wrapped) for up to a month. Thaw overnight in the fridge before serving.
Serving Suggestions
Serve the pie with lightly sweetened whipped cream. A small pinch of cinnamon or a little vanilla in the cream works well. For a slightly less traditional option, a spoonful of lightly sweetened sour cream or crème fraîche can cut the sweetness nicely.
-
Yes, but it needs to be cooked and pureed until very smooth, then drained of excess moisture. Canned plain puree is more consistent and usually produces a better texture for this style of pie.
-
Most cracks come from overbaking or from a filling that had too much moisture or too much air mixed in. Pull the pie while the center still wobbles slightly and avoid aggressive whisking.
-
Yes. The dough disk can be refrigerated for up to 2 days or frozen for a month. The shaped, unbaked crust can also be frozen in the pie plate and baked from frozen (add a few extra minutes).

The Best Homemade Pumpkin Pie
Classic pumpkin pie with a flaky all-butter crust and a smooth, creamy filling that doesn’t crack. Reliable, make-ahead friendly, and perfect for Thanksgiving.
Ingredients
Instructions
Notes
Key Tips for Success
- Pumpkin puree moisture matters. Some brands are wetter than others. If the puree looks watery, blot it with paper towels or simmer it for a few minutes to drive off excess liquid before using it. Too much water is one of the main reasons pies crack or take forever to set.
- Don’t overbake. Pulling the pie when the center still has a slight wobble is the single best way to avoid cracks and a dry, grainy texture. It will finish setting as it cools.
- Spice quality shows. Freshly grated nutmeg makes a noticeable difference. The longer the pie sits, the more the spices bloom — this is one reason a day-ahead pie often tastes better.
- Crust protection. If you’re worried about the edges getting too dark, keep a strip of foil ready and cover them midway through baking.